
Studio Sweat in a New Coat of Paint
2:10 PMLast time I showed you my studio it looked like this.

An in progress complete mess! Well, now I've finally finished all the stenciling (I used this stencil from Cutting Edge Designs). I even painted that back wall and the ceiling with the same left over grey that I painted the bathroom on the main floor. The grey on the back wall isn't permanent, but I just wanted to get that wall cleaned up until I think of something to do back there.

Why, yes! I do still have all my crap in these

I even have a way to hide the main water shutoff valve with cabinets while keeping it accessible. It's that dark hole just below and to the left of the window. I'm not going to spill the beans just yet, you'll have to keep an eye out to see what I do later.
As hap hazard as the back side of the room looks, I did actually put a tiny bit of effort into making something look kinda cute.

I got that little cabinet off of Craigslist last summer and have had plans to paint it someday. But for now it just has my collection of empty frames and my little piggy. Doesn't he look so cute?

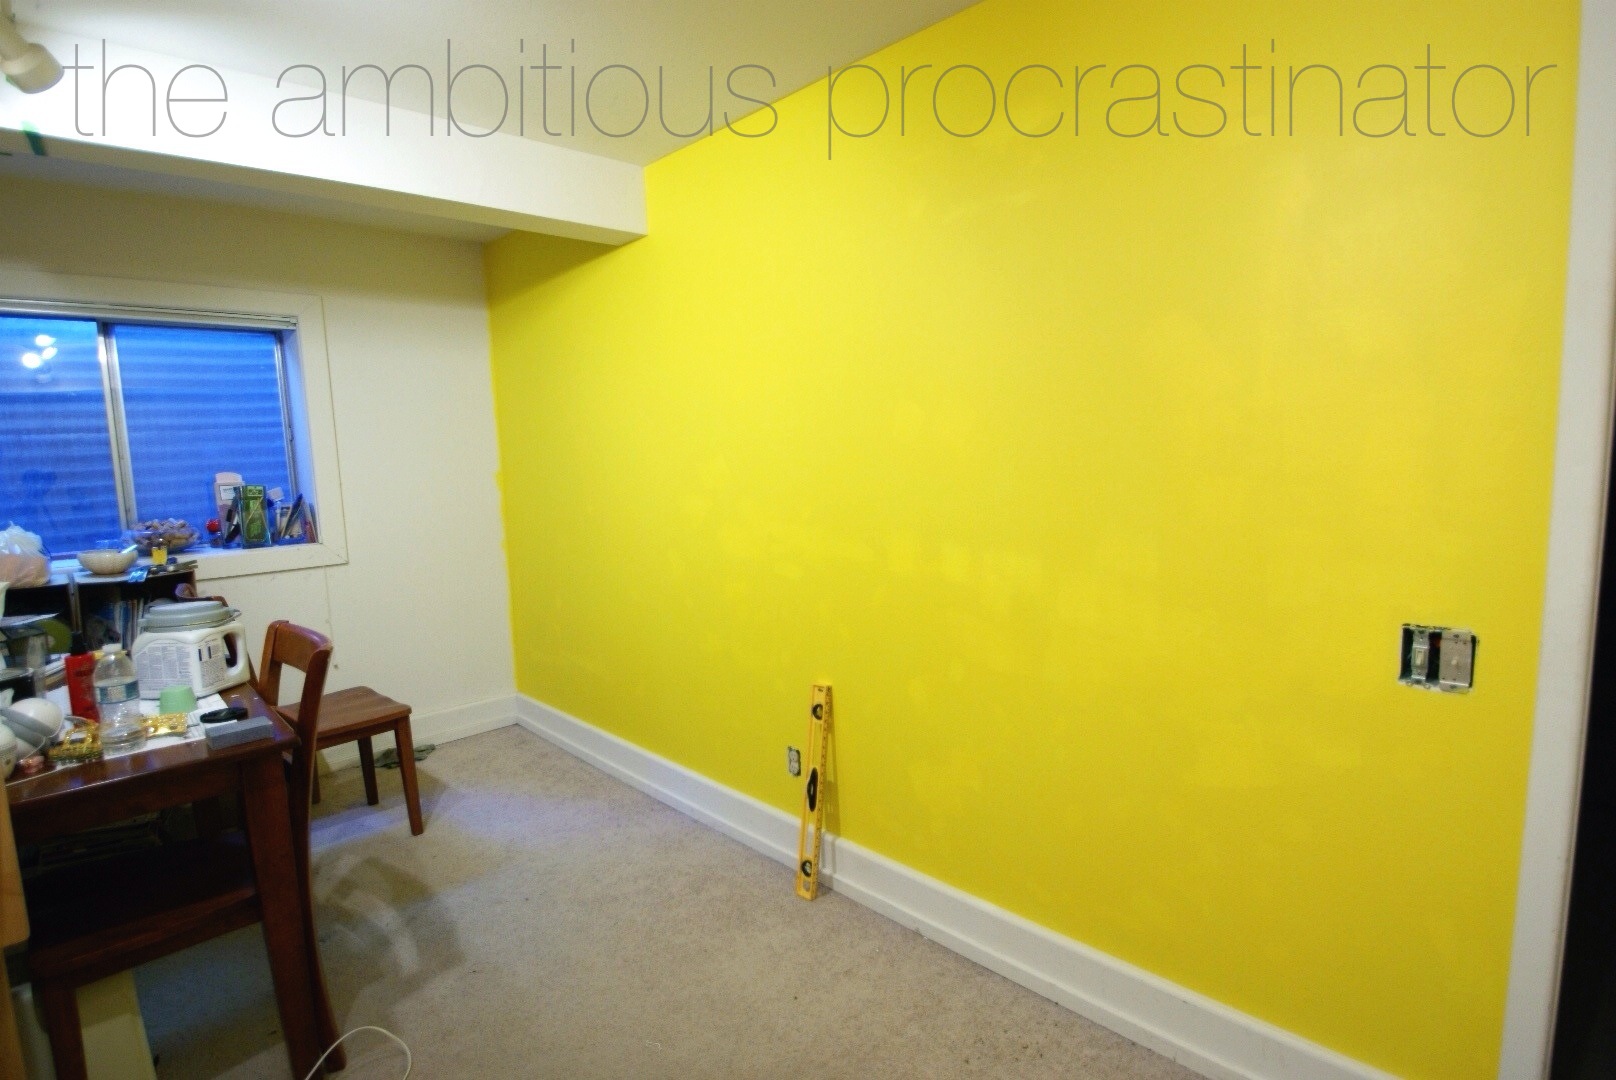
Now I've got to start working on some art work for this giant wall, maybe some animals printed on book pages like the ones I saw while we were in Santa Fe. I think filling the space with art will help tone down the brightness of the yellow. This is a whole lotta yellow forest.

I won't cover it all though, that would kinda make all this hard work pointless. Oh and I need to keep my eyes open for some more lampshade frames to makeover.

Now for some tips and stuff that I learned along the way. The first thing is that I'm not a fan of Dutch Boy paint. Particularly the Refresh paint. I mentioned before that it did not cover scuff marks very well, even with more than enough coats. Well this time I spot primed so those little black scuff marks would get covered up a little faster.

Well here is that same wall after two coats of paint.

And now four.
After the fourth coat I just started painting over the spots, trying to build up some coverage. Once I reached the seventh coat (over the spots) I decided it was good enough (even though I could still see some variation) but that the stencil would make it near impossible to see. I'm sure the paint authority would say it was all my fault and that I should have primed the whole wall, but when one of the key features is "Exceptional hide and durability" I can only assume that the paint can cover the contrast between a bright white and a drab white. Just sayin!
Now on to more helpful things, like what to use if you don't have a stencil specific paint brush. Makeup sponges!

Just dab it in some of your paint, blot of the excess, and tap it over your stencil. Just a fair warning, you will get paint all over your fingers this way, but I think you'll get paint all over you no matter how you stencil.

As far as things I would do differently goes I think I'll get some of that stencil adhesive spray that Martha is selling these days. I did have a little bleeding, and getting the stencil to stay put while it's bent in more than one direction was pretty difficult.

This tip might be a little specific to this stencil, but if you want to personalize on of the trees with a sappy little carving to proclaim your love, just slap some tape over some of the trunk details like I did here.

It leaves a perfect little opening for a heart and some initials. Dorky? Maybe, but it's 100% true!

Oh, and I didn't get a shot of this but I'll try my best to explain verbally. When you get your stencil it comes in two parts, one short piece to use at the ceiling line, and a longer one that covers the majority of your wall. I think it would be best to go along the ceiling with the short piece and then work your way down with the complete stencil. I tried butting the bigger stencil up to the ceiling and leaving a bit of a gap before coming to that conclusion. I will be trying it this way when I do our stair well.
So have you stenciled anything? Do you think my studio looks cra cray? Oh, and I'm still looking for inspiration as to what I should do on that back wall.
Want to see how this room started out? Here's the grand tour in all it's craptastic glory.


6 comments
Beautiful! I have been looking at doing this for quite some time. I have a question, how hard was it to get good coverage from the white over the bright yellow? Did you have to do multiple coats or did you just lay it on thick?
ReplyDeleteThanks!
Thanks Alison! Unfortunately you have to apply at least two coats. If you glob in on then you'll get a lot of bleeding behind the stencil. I'm not sure how much the stencil adhesive would help in avoiding that, but I would air on the side of caution. It takes a long time, but you also get into a sort of rhythm. Good luck!
ReplyDeleteWhat a funky wall stencil! I've seen this stencil used in a room with a neutral palette but the bright yellow is so much fun! This looks like it will be a really fun space when you're finished.
ReplyDeleteThe carved trunk is such a sweet detail :)
Beautiful job! I love that stencil and your room looks amazing!
ReplyDeleteDid I ever tell you that I love the hell out of this? I do.
ReplyDeleteAwww, thanks Jenna! You're the best. Maybe you can come over for some crafting when you get here!
DeleteHi! I love comments, they're the best!