
Dead Trees Can Be Festive
2:49 PM You guys, guess what? We actually hung up the mantle this weekend! I was a little doubtful last week that is would even happen, but it did! The best thing is that it wasn't really all that difficult. The second best thing is that we absolutely love how it turned out! Really. After it was up I just kept looking at it and smiling. Who knew $20 worth of wood could be so pretty! And since I'm feeling nice I'll start today's post with the after shot.

Before I share all the sordid details with you fine folks I kinda feel like I need to cover my ass a bit. We (as in me, Matt and his brother Nate) are not professionals when it comes to building stuff. This is what we tried based on a limited amount of information from google and YouTube and a quick chat with my dad. Lucky for us everything worked out just fine. While our mantle is very secure I can not take responsibility if you decide to do what we did and something bad happens. Build at your own risk!
Ok, now that we have that out of the way lets talk about how it all went down. Last week I left you with an unfinished but freshly sanded Beatle Kill beam. Since we really wanted to maintain the natural silvery color we opted to use Polycrylic from Minwax because it dries completely clear, and it doesn't yellow over time. It was my first time working with this product and now I'm hooked. I will Polycrylic everything!

It's so clear that its kinda hard to photograph. It basically just gets rid of that dull dusty look to unfinished wood.


While the last coat was drying we turned our attention inside. Since we were upgrading our tv we thought now was as good a time as any to swap them out. I couldn't help myself from posting a missing tv picture on Instagram. It just looks so weird and empty.


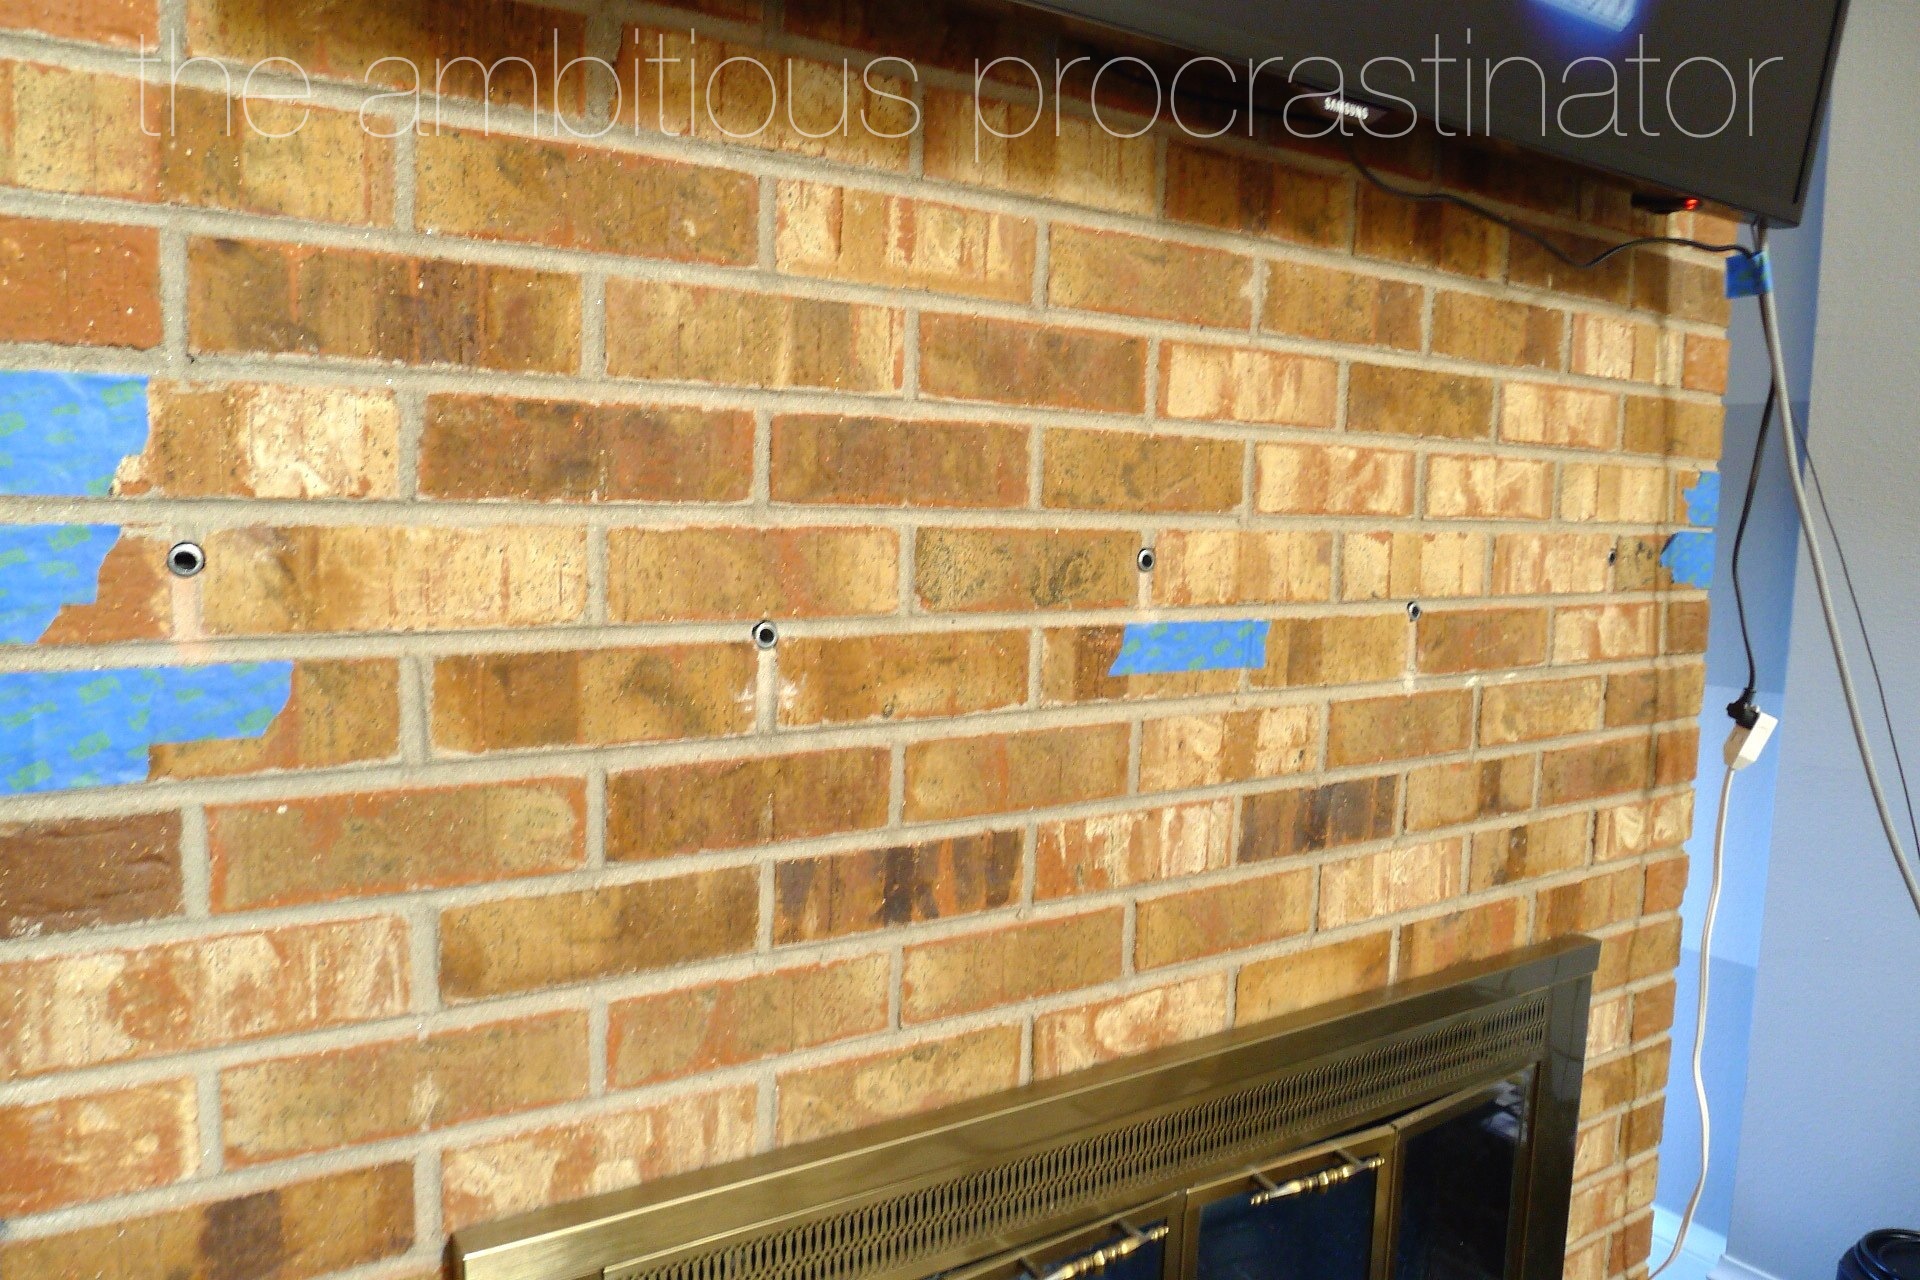
Once the new tv was up we still had some drying time to kill, so I made a template of the beam/mantle out of card stock. Once we decided where exactly we wanted it I poked some holes in it to mark where I wanted the holes to go. If you look closely the layout of the holes make a really wide but flat 'W'. We figured it would be a little more supportive than if they were all level with each other.

If you're wondering why I marked the holes while the template was on the brick as opposed to the beam, well that's because I wanted the holes in the mortar as opposed to the bricks. Anyway, with the marked holes in my template I took it out to the dry enough (how much is another 15 minutes really going to matter) beam and marked the same holes on the back of the beam with some small pilot holes. Be careful that the side of your template that was facing the brick is now facing you. Notice how my little poked holes are flaring out now? If you don't do this your holes will not match up whatsoever. Think of it as a sandwich that you can't eat, the brick and the beam are the bread, and the template is the meat.

Once my spots were marked I turned the beam so that the top was facing up. Since I wasn't sure that my patio chair or our patio were exactly level I used some shims to make sure the beam was level. If you have a drill press than congratulations to you, that would be a whole lot easier.

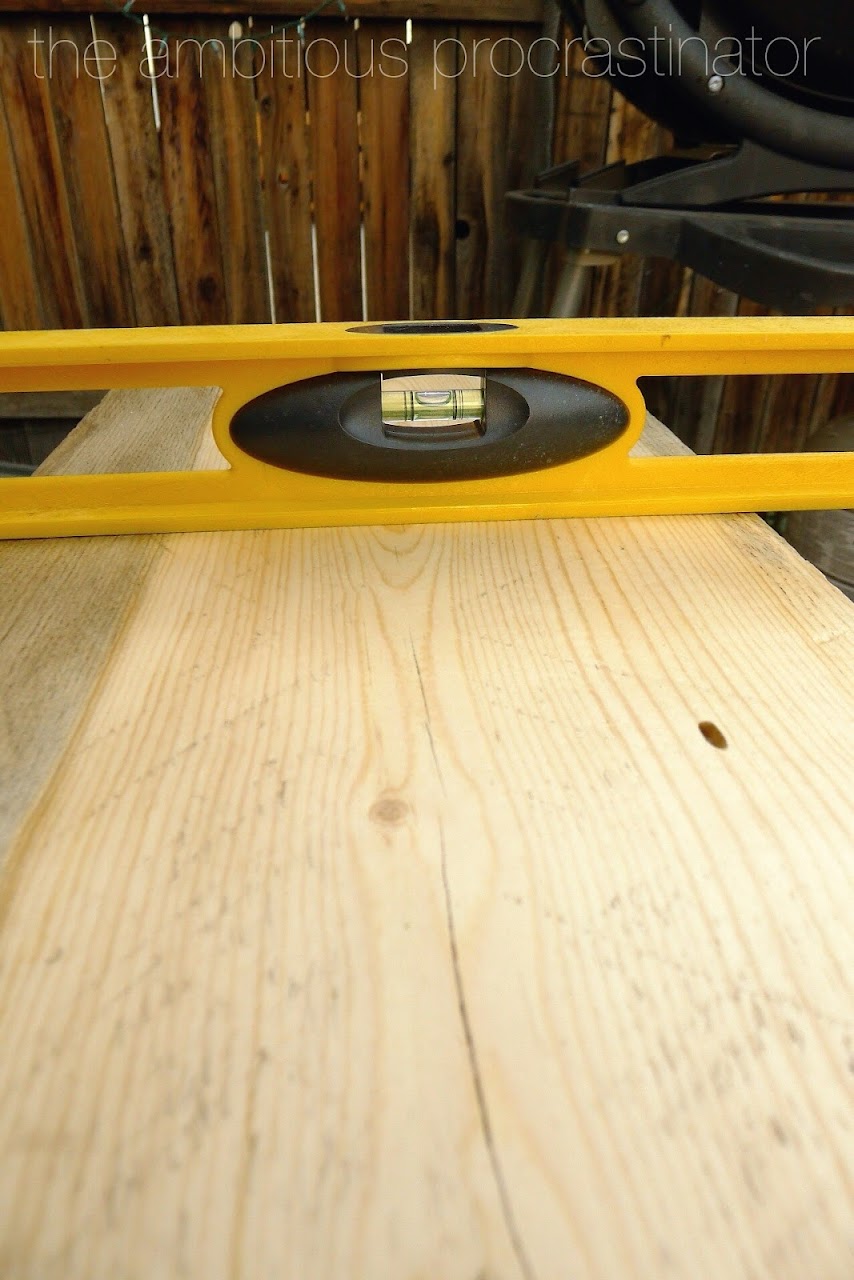
All that leveling nonsense was so that I could use this little handy level built into my drill and make sure my holes were straight. I also started with smaller drill bits and then stepped my way up to the size I needed, it was a lot easier to control the drill that way.

Now that we had holes in the back of the beam, we needed holes to match in the fireplace. Matt's brother Nate built a deck on the back of their house this summer and brought his hammer drill over to help us with that. So with the help of Nate's hammer drill (with the hammer function turned off, thankyouverymuch), and a new drill bit we made some holes for this lag shield and lag bolt. Oh, and just like I did with the beam, we started out with smaller holes and worked our way up to the size we needed.

Once Matt had drilled all the holes I put the bolts and anchors in. Here's a little video about how they work, I fully understand it but am too lazy to explain.
When the bolts were tightly in place I used our dremmel tool to cut the tops off. In theory the beam should just slide right onto the topless bolts that are sticking out of the fireplace now.

In reality one of our bolts wasn't exactly what you would call level so it took quite a bit of muscling to get the beam on. I like to think of it as extra support. It really wasn't too bad, Matt just had to pull down on one of the bolts while Nate and I held the beam. Once it was lined up we just pounded it with a rubber mallet for a while. Just to clarify, when I say we I really mean Matt and Nate. I consider myself a very capable girl but there was just no comparison in hammer swinging ability.

After the beam was pounded in we all thought it still had a slight slope to it which was confirmed by our level. Nothing that my new bff's (shims) couldn't handle. Matt and Nate just applied a little upward pressure to the front while I slid some shims between the beam and the fireplace from underneath until all the bubbles were in their right spots.

And that brings us back around to the after picture! It's so much tidier now.
In fact, it looks so much better that I feel like a side by side before and after is necessary. Remember how turdy this area used to look?

Here's a few more beauty shots. This is actually my favorite view if it. I love that you can really see the contrast of the wood here, the concentric rings, and the little cracks radiating out from the center.

From above, you can see one of the little cord tubes that I got to hide the speaker wire. I just painted it grey to blend into the mortar a little better. I have another one on the side that I need to paint to match the bricks. I'll let you know how that goes.

Even the under side is pretty. This side had the most holes and cracks. There's a big one at the other end, but its still beautiful. I just love how dark this little section is, and just the irregularities that nature gives us.

Now that we have a mantle I feel like decorating it. Who knew a big chunk of wood could be so festive! Do you have any projects that were easier/faster than you were expecting?


9 comments
This is absolutely gorgeous. I can't believe that wood only cost $20! I've never seen wood that color before and I LOVE it! And it is quite a contrast between the before and after. It truly looks amazing.
ReplyDeleteWow! Must feel nice to have this big project done! it looks really unique and rustic-great job! (Now all you need is to paint it white--maybe :)
ReplyDeleteMaybe. Hopefully. I'm crossing my fingers.
Deletesuper fabulous. that is some tall fireplace! i love how you have the mantle be floating, like with nothing holding it. really is a modern look.
ReplyDeleteI have also made a great site about anti procrastination. By the way, I love your website and pictures and so on. Keep up the good work. See ya.
ReplyDeleteps. great house you've got there. I'm so jelly.
Excellent solution! I want to hang my tv but I can't seem to find a spot that I know I will be happy with. I wish I had a cool fireplace like this. Great look!
ReplyDeleteThanks! It's pretty much what sold us on our home.
DeleteCan I ask where you got your $20 piece of wood???
ReplyDeletewhat size piece of wood is this?
ReplyDeleteHi! I love comments, they're the best!