
Stair Update: The Final One!
8:37 PMJanuary 11th! That is the date of my last post. Cray! Well, lots of things have been happening around here. First of all, these babies are done (minus some caulk and touch up paint on the trim).


So, I stalked my dad's travel schedule via my mom and talked him into helping me route a nice rounded edge like the one on the front of the steps. Dads are great like that, especially mine.
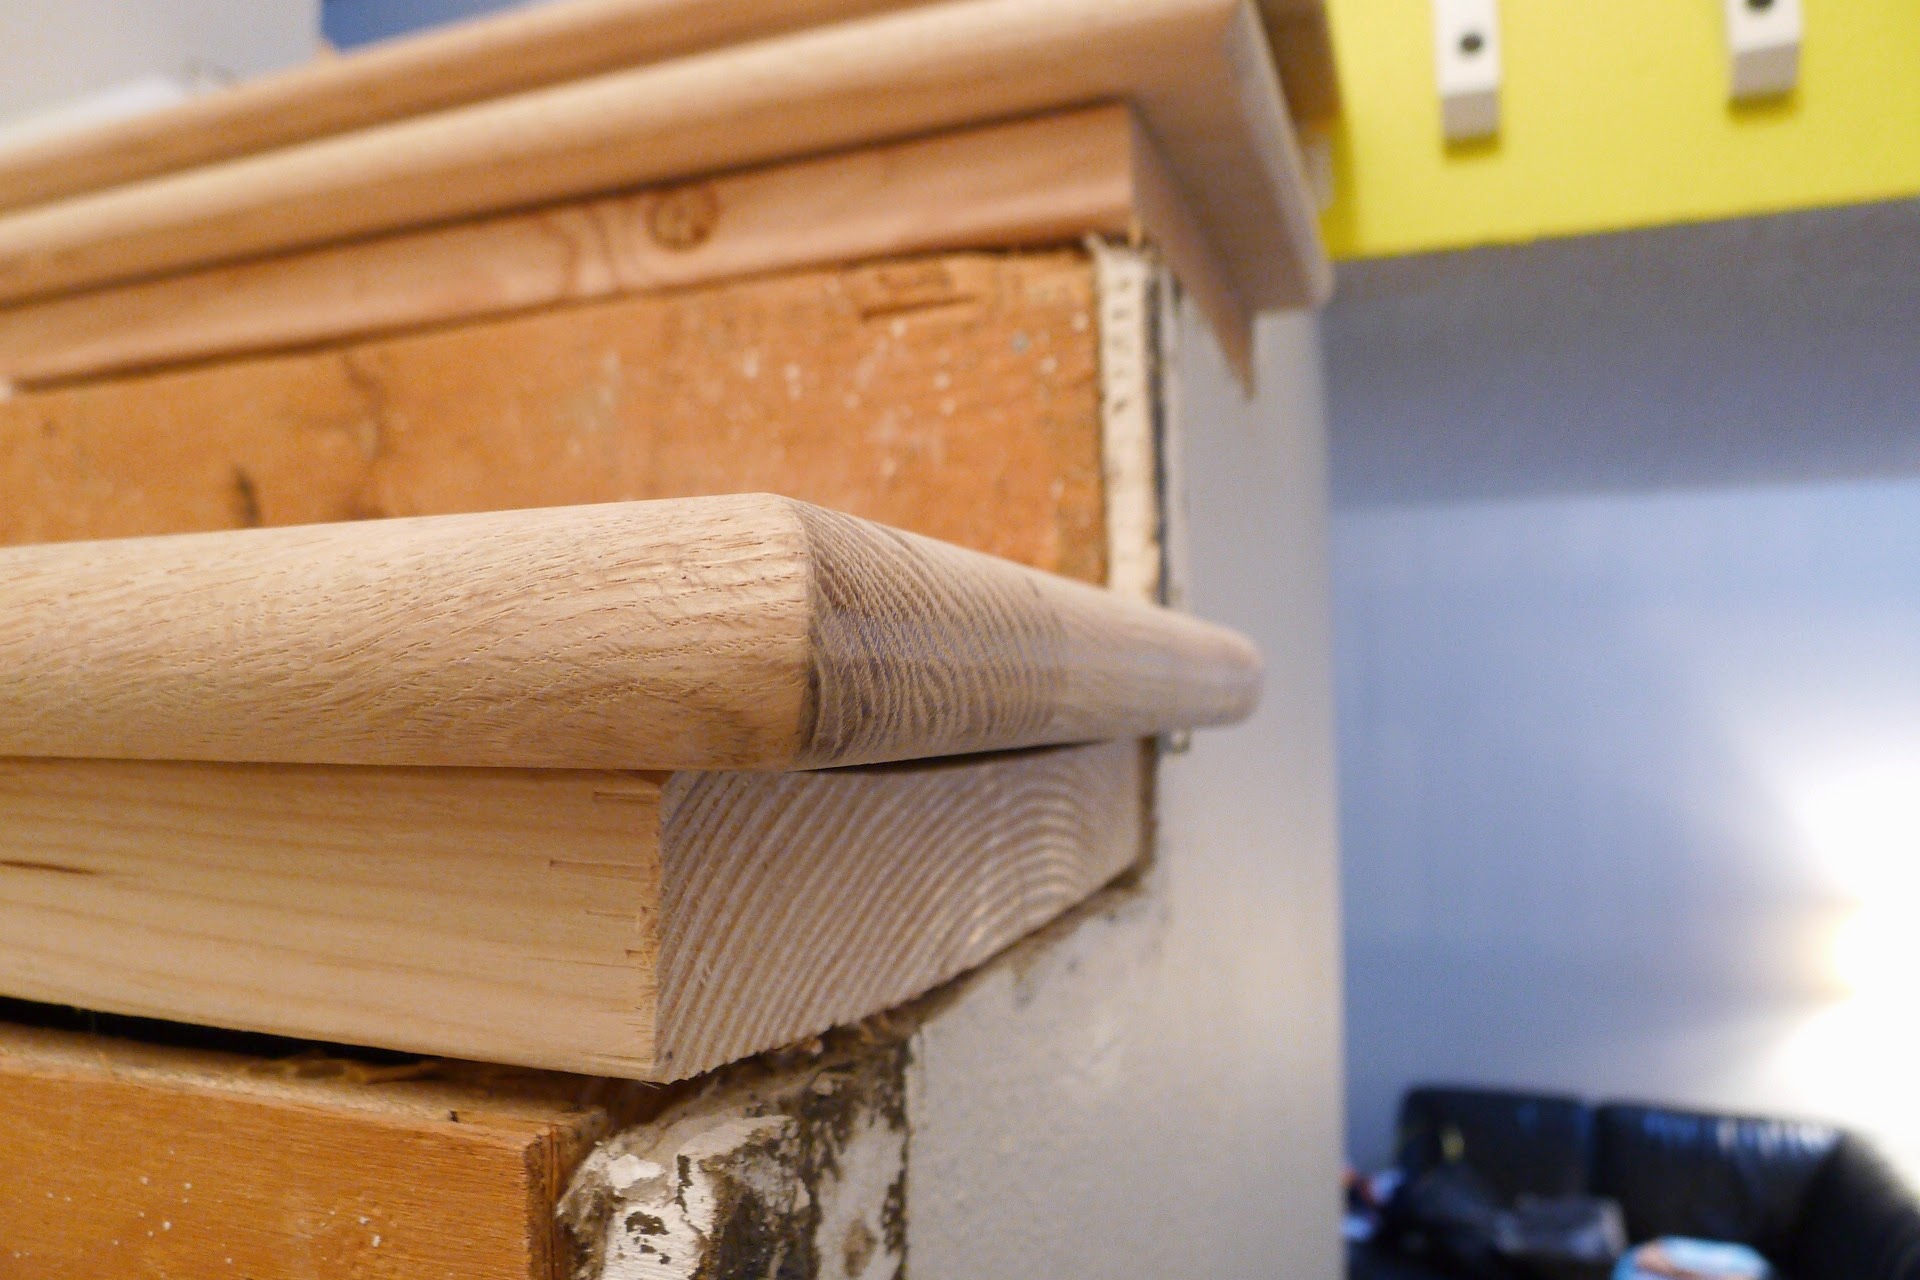
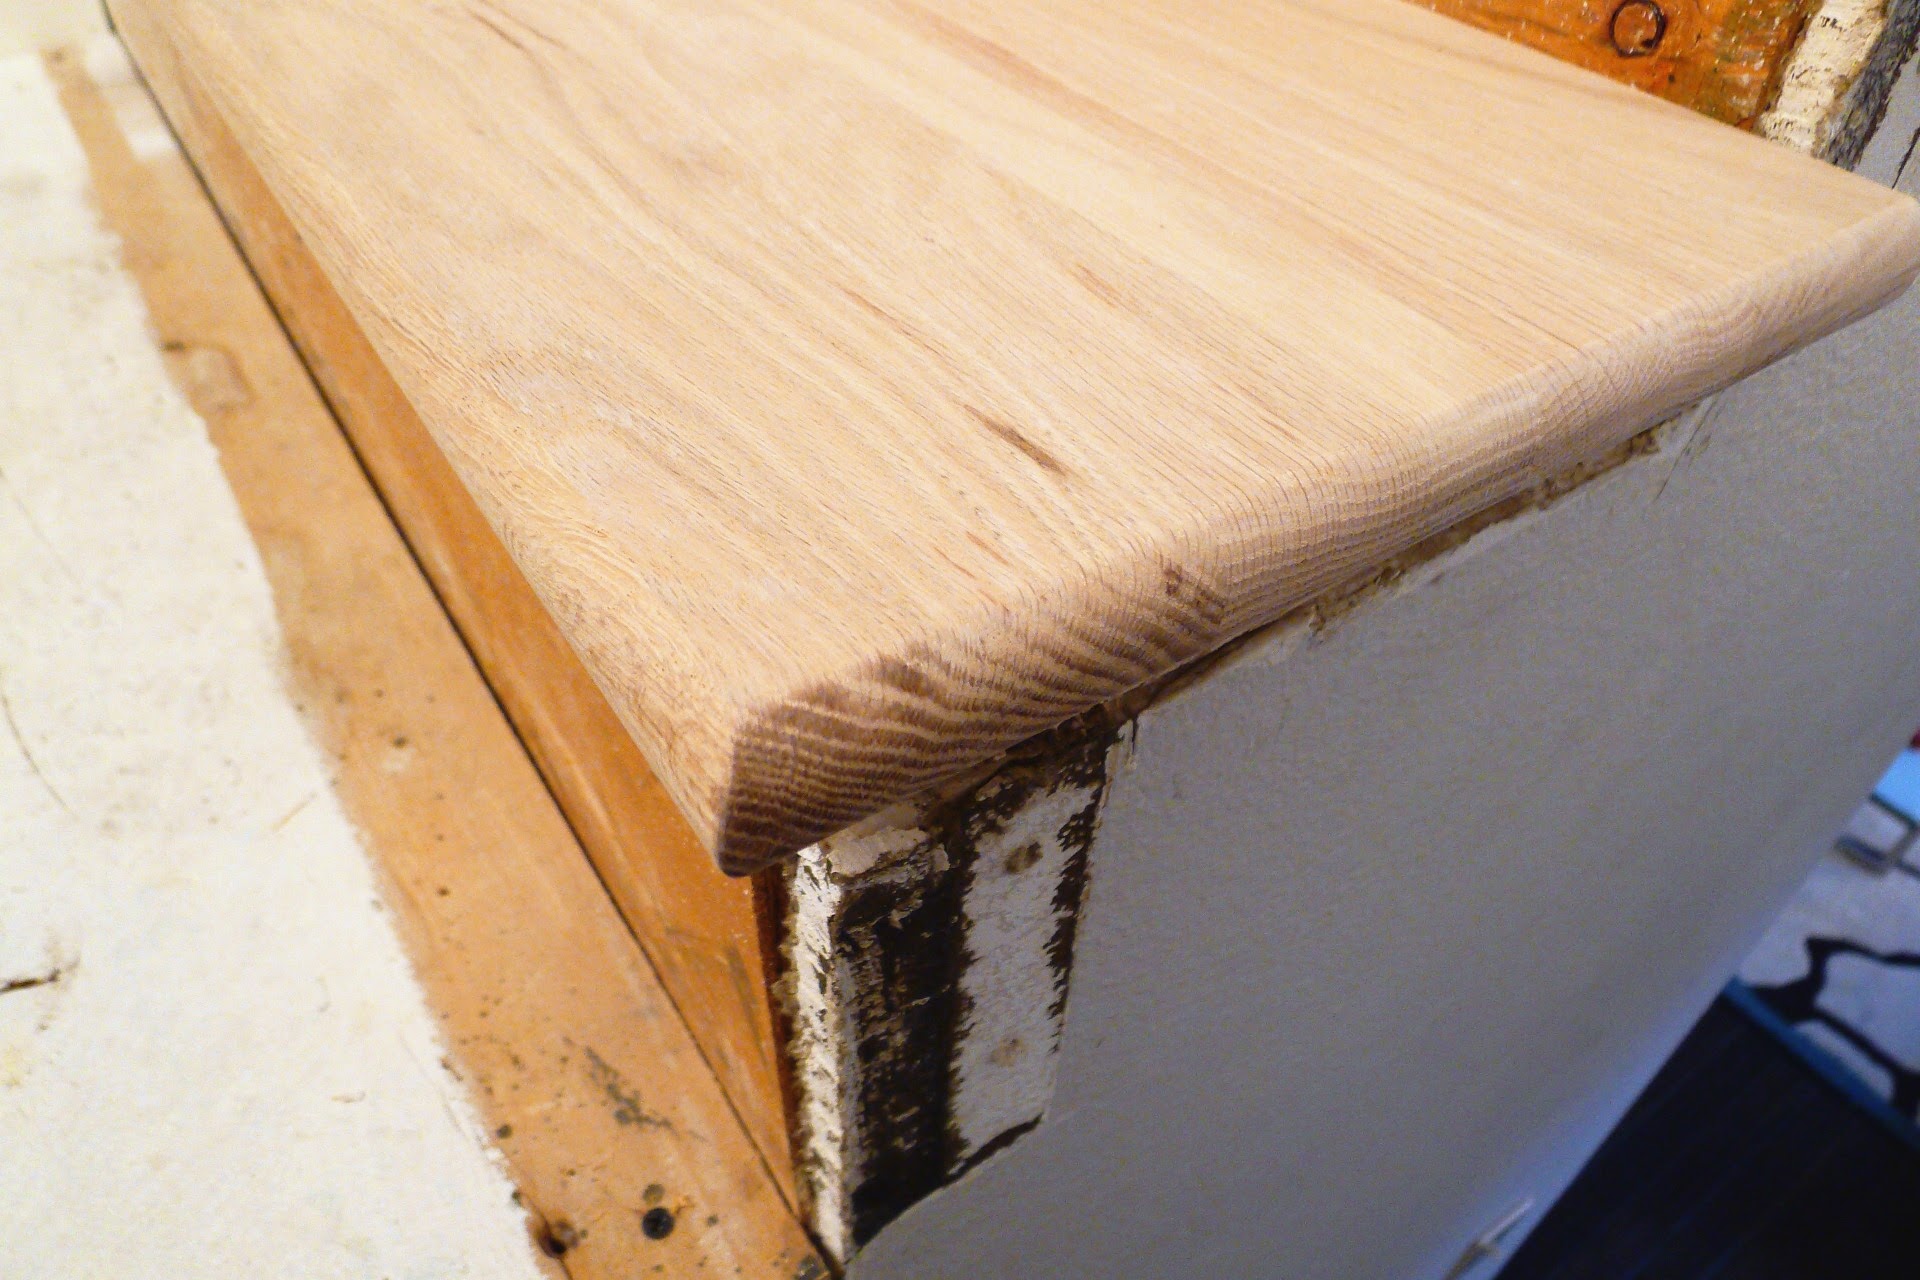
Fancy round edges were quite a hurdle in the top half of the stair makeover project. I may have routed the wrong side of one, and set the bit a little too high on others. I don't really want to talk about it. What's important is that they eventually were routed and I could move on to staining, notching out a spot for the railing, and installing them.

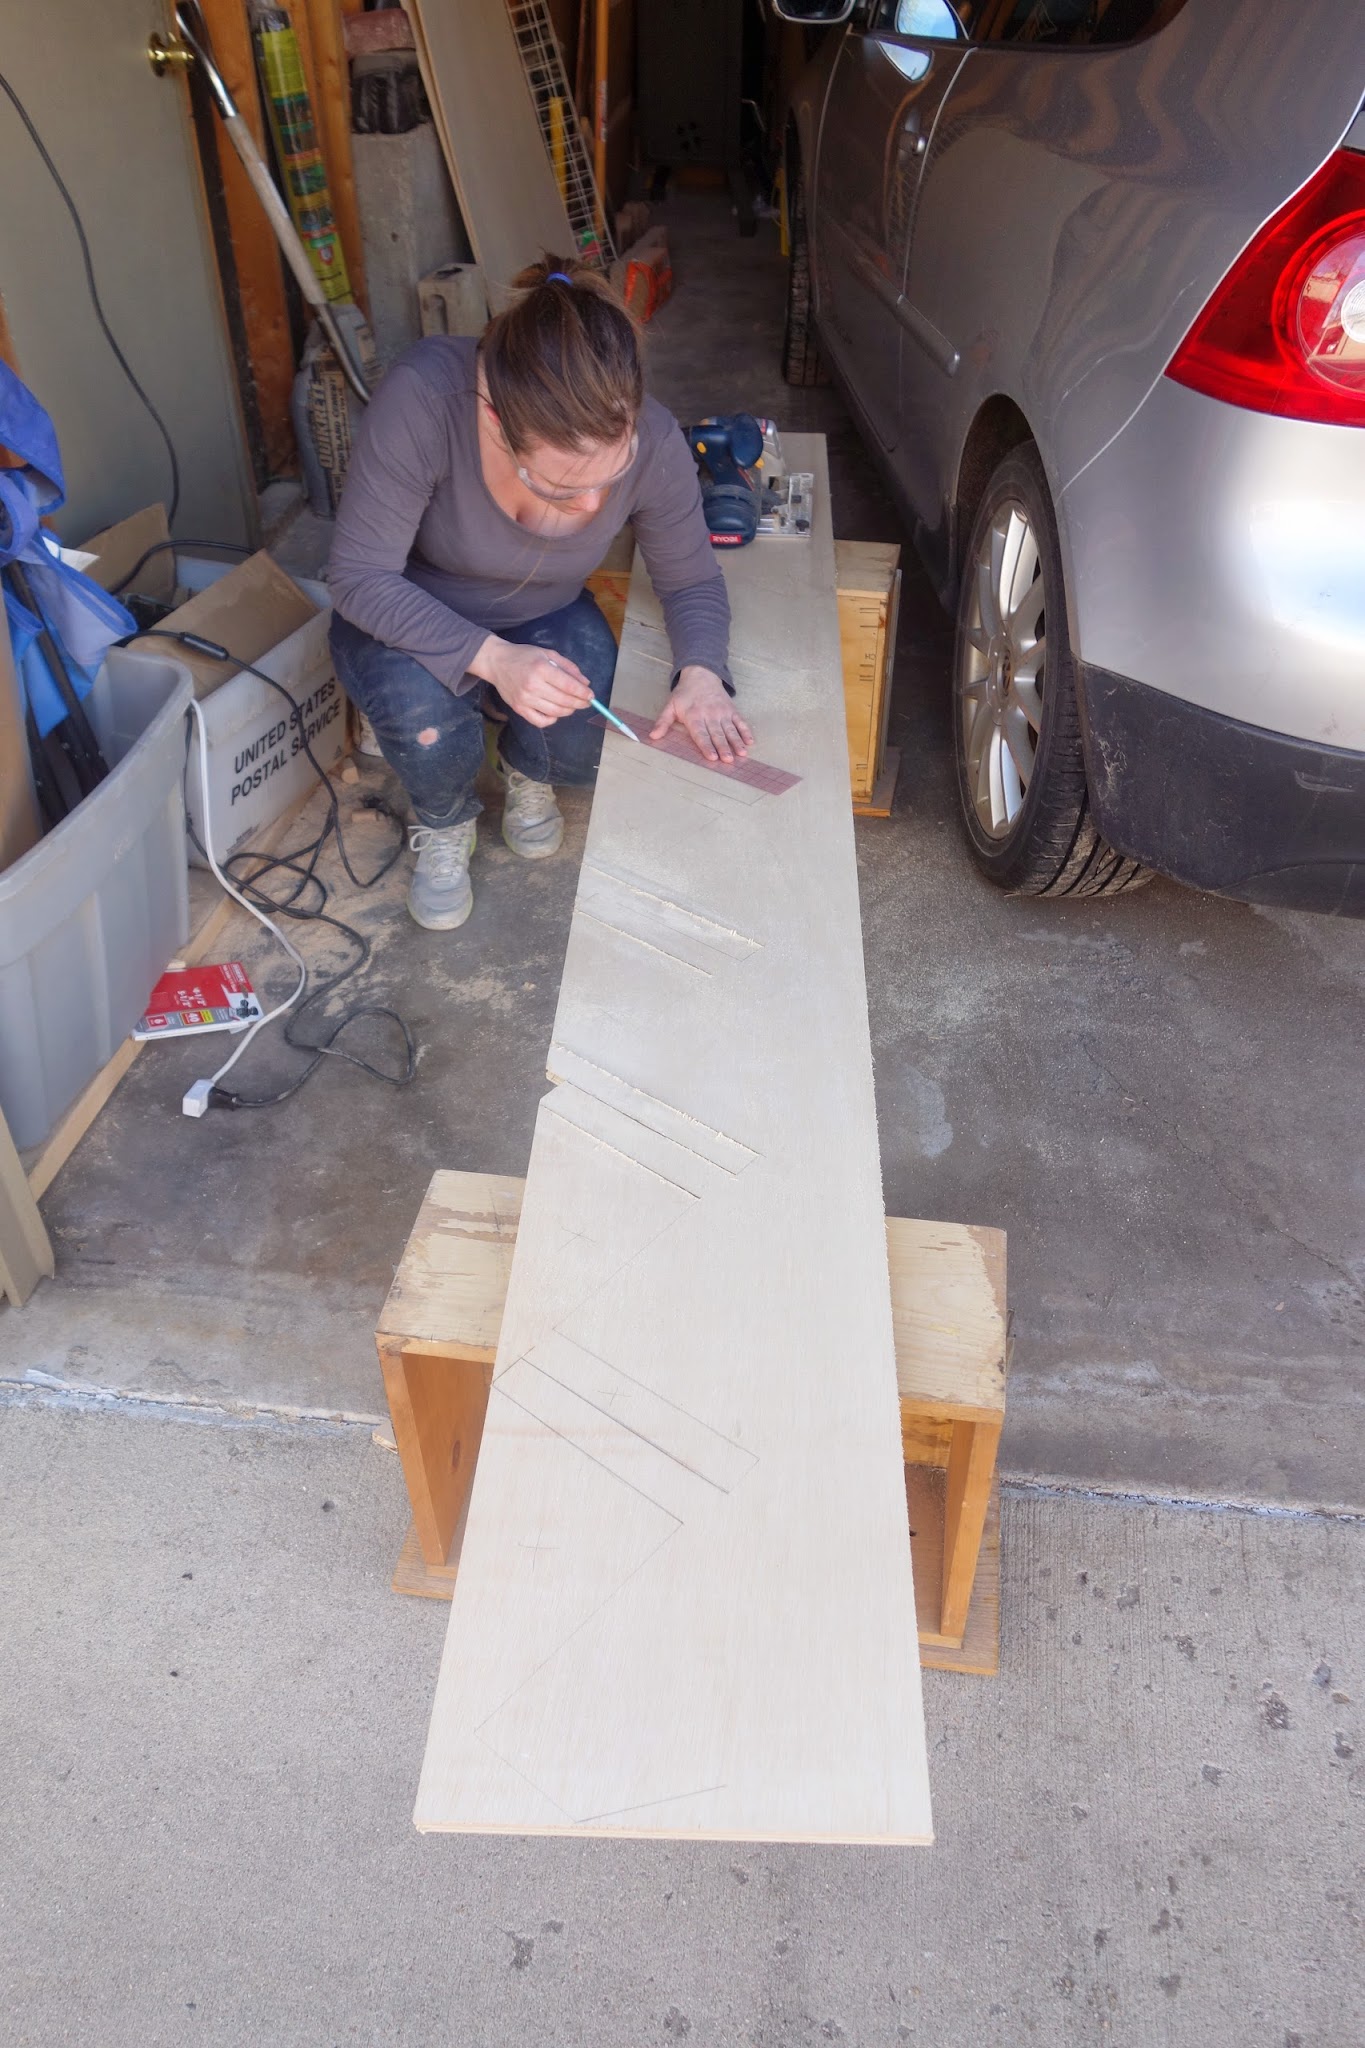
I also templated and cut out the skirt for under the stair overhang on the side. Perhaps I will call it a slip, you know, since it's "under" the stairs. Whateves, to template this I taped some old resume paper we've had laying around for the last 8 years, attached the railing and cut around the spindles with an exacto knife. Maybe I'll regret that once we move and I become a trophy wife jobless. Who knows!

Tracing the template onto the plywood was pretty easy, but I did need to selectively sand some edges to get it to fit into place. Once it did I painted it and installed it.
And added some molding to make it look pretty. I used the same baseboards, but for the top piece I riped the top inch to make a smaller piece. It just needs some caulk and touch up paint.

I'm so excited to have this project behind us! There's nothing like a big life change to light a fire under your ass to get some projects done.
Nikki Kelly


2 comments
Moving to Portland!! How exciting! What's the time frame? Hoping my next trip to Denver lines up before you leave.
ReplyDeleteThe stairs look awesome. Good luck with everything!
It looks amazing! Like everything you make...
ReplyDeleteHi! I love comments, they're the best!